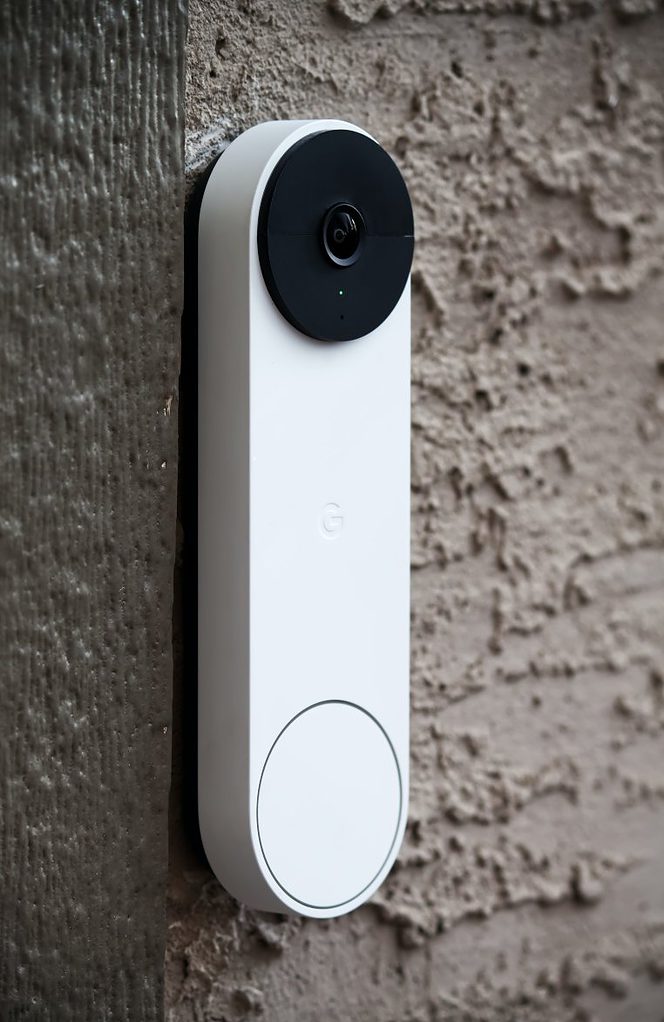
If you have decided to get a new doorbell and chose Ring Doorbell, you should not be afraid of installing it. The complete procedure is very easy, and simple and you will just need to follow the instructions. It is good to know that you will get most of the necessary tools for installing the doorbell, such as screws, a screwdriver, and instructions for Ring doorbell installation. And if you want to mount it to a brick, you will also need to get a drill. If you are installing the doorbell for the first time, a great help can be the Ring plug-in adapter. You will only need to connect wires from the doorbell with a standard home socket. If you don’t have this additional device and you are not quite familiar with the installation, the best thing would be to call an electrician.
Step One: Charge Your Ring Doorbell
Before you make any action regarding installing your doorbell, you will need to charge its internal battery. Carefully unbox the doorbell, find the battery, and plug it into a charging cable. Usually, you will get this cable along with the doorbell. You will know that your battery is fully charged when you see a green light on top of the battery. This step is necessary if you opt for a battery-operated doorbell such as models: Ring Video Doorbell, second generation, Ring Video Doorbell 3, and Ring Video Doorbell 4. There is one big difference between these models – Ring Video Doorbell 3 and Ring Video Doorbell 4 have a removable battery pack that enables you to recharge the battery without detaching the complete doorbell.
Step Two: Power Your Ring Doorbell
On the other hand, if you choose to have some of the hardwired models of doorbells, you will need to wire them. Ring Video Doorbell Pro, Ring Video Doorbell Pro 2 and Ring Video Doorbell Wired are wired models. There is a different procedure for Ring doorbell wiring depending on the fact if you already have a wired doorbell or not. If you do have an old doorbell that you want to replace with the new one, for safety reasons first turn off the power source connected to your doorbell. After that, take off your old doorbell and disconnect the wires, or if you don’t feel like a handyman, our team will gladly help you with the installation. And if you need any other residential electrician services such as outdoor or recessed lighting installations or replacing outlets in your home, we are happy to be at your service.
Step Three: Connecting Ring Doorbell to Wi-Fi
Before you move on to the next step, you will need to download the Ring app because it is a virtual place where everything around your doorbell happens. You will easily find this application among other applications on your phone. Once you’ve downloaded this application, you will need to create an account. Don’t worry, it is a very quick and easy procedure and it will take no more than 15 minutes. You will need to choose your username and password in order to complete the registration procedure. After this step, you will need to activate the “Set up your doorbell” option and follow further instructions.
Now it’s time to connect your doorbell to your home wi-fi. This is also a very simple action and you don’t need to be a techie to do it. Just flip your doorbell and on the back side, you will see an orange button. Push it and after a moment, you will see a spinning light on the front of your doorbell. Afterwards, you should go back to your phone and click “Continue” on your Ring app. Then you will be asked to join your home wi-fi network and that is all that needs to be done at this step.

Step Four: Attach Mounting Bracket
Before mounting your doorbell, you have to decide where you want to position it. It is recommended to be around 1.2 m from the ground but this could also depend on your home and where you want to place it. On the other hand, you may already have holes left from the old doorbell, and this could shorten the whole process of mounting. You will just need to screw the mounting bracket over the existing holes and make sure that the wires can go through the bracket’s hole.
If you need to do everything from the start, follow these steps. Using a mounting bracket, you need to mark the spots for the screws. If you want to ensure that the mounting bracket is standing straight on the surface, use the level tool for that. Additionally, open your Ring app and make sure that the angle you see is the right one. The next step depends on whether you want to mount your doorbell on some wooden surface or to brick or concrete. For the latter, you will need to drill the holes and a couple of plastic anchors for driving screws into the holes. After that, position the mounting bracket on top of them, and screw into the anchors.
Step Five: Check Wires
Now get your doorbell and turn it upside down. You will see two screws on that side of the doorbell. Just loosen them with the screwdriver. Put the wires around the screws – each one around one screw making a good connection to the screws. Here it is important to know that it doesn’t matter which wire goes to which screw – they have to be securely attached and their external parts must not touch each other. After feeding the wires back into the wall proceed to secure your doorbell to the wall. If you are not completely sure how to do this properly, our electricians can help you in this wiring installation or in any other similar electrical troubleshooting.
In case you have a digital doorbell, you will need to install the included diode. Follow the instructions from your doorbell box.
Step Six: Mount Your Doorbell
The last step for completing the procedure is to put your Ring doorbell into the bracket. Do it carefully, and make sure that the doorbell clicks into its place. In addition to this to make sure that your Ring doorbell is properly secured, tighten the security screws at the bottom of the Ring doorbell.
Finally, you can switch the power on and it means that your Ring doorbell is ready to work!


